Kings Of Chrome Full Tutorial Training Guide (How to Polish Metal Like a Pro!)
By Hand or by Machine?

If you are wanting a good hand polish for your metal then our Zephyr Pro40 is the #1 in the USA for a reason. Zephyr Pro25 is similar, with less cut and a higher shine. Most pro polishers use both.
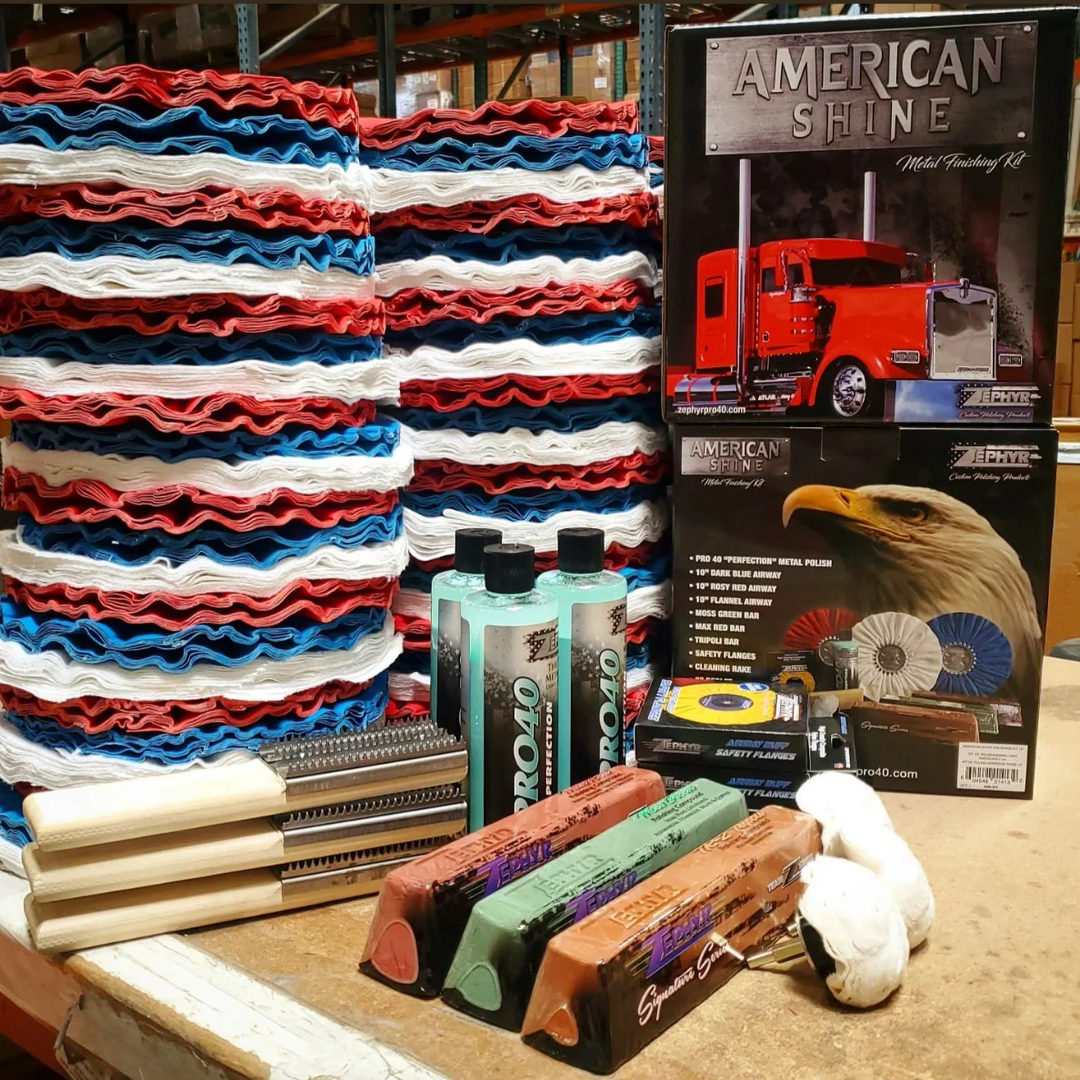
The choice of cloth makes a real difference to how quickly and easily the polish both works and comes off, and also reduces scratching. Don't ruin your hard work with cheap cloths, we recommend the RockCar Roadie.
Polishing by machine will get better results faster and can also address more defects.
Metal Polish By Machine
Want to step it up, or just save time? Machine polishing metal is a bit of an art but with the right gear and practice you'll get amazing results. Let's step you through it all.

_______________________________________________________________
Prep - Sanding
The more you polish metal the more you see the imperfections, scratches and dents. You can polish some of these out, but it will take a long time. This is why pros will often sand the metal first. It will get the metal to a constant even sanded level, and you can then polish this out to a great shine.
We sell a very good dual action sander polisher, but do not yet have sanding paper at this stage but plan to add this soon. If you plan to sand here are some tips:

Sanding Tips for Best results
You will normally need to do multiple sanding steps to get to a smooth even flat surface ready for polishing. How many steps and what grit will depend on how bad the metal is, how deep the scratches and dents are, and how much you want to take away vs you are happy to live with for now. A rotary sander/polisher will be faster, a dual action will be a bit slower but will be easier to get even results. Sanding metal is harder than paint so get a decent machine.
Us a compound bar to mark the area and break it into sections, this way you can see where you have sanded easily as the compound will have been removed. When you start it is easy to see where you have been but as you sand finer it gets harder to tell, so mark like this it is a good habit.
Use hook and loop sanding discs with an interface pad to cushion the sanding paper.

Guide On Sanding Steps
Overlap by half and focus on been smooth and moving at a consistent speed with consistent pressure, you want to be even. Normally run around 2,000 rpm. Grit steps will vary on how deep you need to go, 320, 400, 600, 800 are common steps, Some Pros will sand to 400 with a rotary then used a dual action to get finer, as the sanding marks from a dual action are easier to polish out than the marks from a rotary. When in doubt use a dual action. The time saved by a rotary is often lost having to re-sand if it is not even.
Between each step take a moment to wipe down with Pro50 and a clean, soft cloth to remove any metal particles from the sanding, otherwise in your next step will force these particles into the metal which will show in the polished metal. The choice of cloth is important, we prefer the RockCar roadie, as it has a weave that grabs really well to remove these effectively and easily, and it is also very soft with no corners or tags so wont scratch the surface.

Good - Even Sanding (above photo)
Overlap and go smooth and steady to get a nice fine even sand. Swapping pads more often saves time and avoids having to repeat.

Bad - Uneven Sanding
Fix this before going on or you will amplify it and never get it looking quite right.

Dual Action Sander Polisher
This is a great machine for sanding and polishing paint. It has a hook and loop mount and a dual action movment, suitable for 125mm/5.5" sanding or polishing pads. It is NOT suitable for Metal polishing wheels though, so great for this sanding step, but can not be used with the wheels that follow for Metal Polishing. We hope to add more machines in time.

_______________________________________________________________
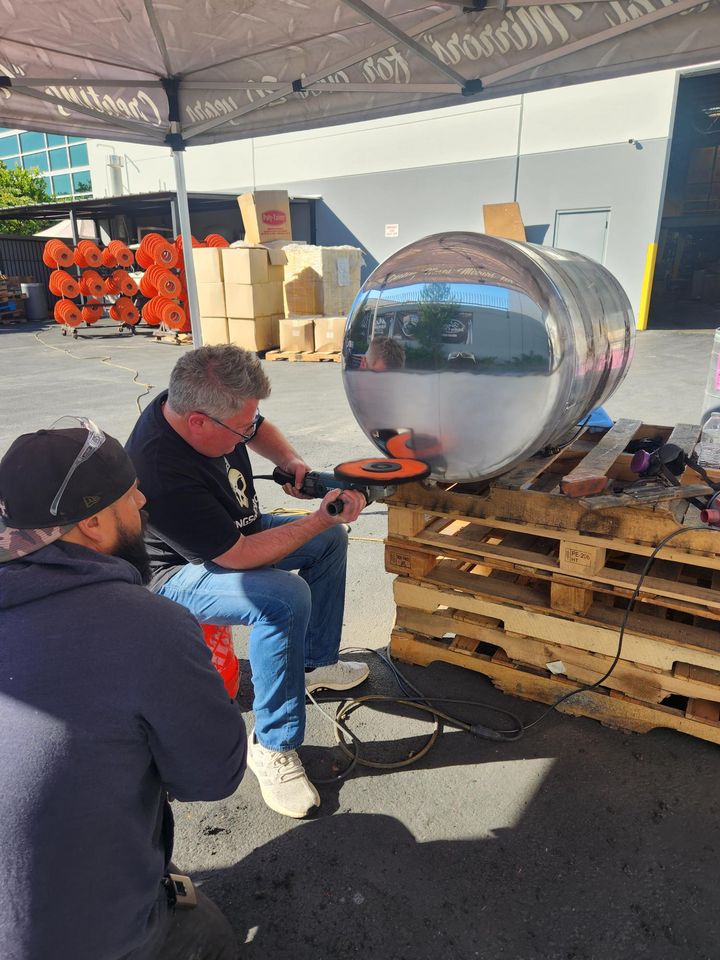
Primary Cutting - The Most Important Step
You can skip straight to this if you don't want to sand... And many people will be happy with just this step. The cutting is the longest of the polishing steps, you need to move slow and steady, here is where you remove the most of the top metal surface. This lays the groundwork of the next steps, each step will amplify it, so take your time and try to be smooth and even.
Higher speed, 3200 - 3400 rpm.

Kwik Cut and Tripoli Bar - your go to.
The Kwik Cut Wheel (Orange and yellow) and the brown Triploi bar are your go to for the cutting step. You will use these the most so it's handy to have more of these.
There are also harder cutting wheels and bars like the Orange Roughie these aren't used as much but are handy on harder metals, like stainless steel, iron, etc.
You can also use a less aggressive cut like the Joker with the Tripoli if you want a lighter cut on alloy.
The first cut it the most important
Each step builds on this so take time to get this right before moving on, the 2nd and 3rd steps will amplify this first step. Use a Buffing rake to fray up the ends so that it can pick up more compound. Start at 3200 rpm, with Zephyrs Kwik Cut wheel and Tripoli compound bar on aluminum, or their 87-Stianless bar on harder metals like stainless. With the wheel spinning hold the Tripoli bar on the wheel and move side to side for 3 secs or so. You don’t need too much compound, just a bit. Work a small section at a time, and move evenly left to right , top to bottom. Don’t push too hard, you want the compound and the wheel to do the work, not your force or you will get marks.

Take your time and be even and steady
Overlap by 50%, work backwards and forwards until you get a mirror shine. You will see a black line as you go, when this starts to fade stop and rake out the burnt compound off your wheel and repeat with new compound. It takes a bit of practice and getting used to but after a while you get the hang of it ,and it becomes a lot easier. If done right the metal will look impressive already after this step, but to get that real Zephyr mirror shine lets go further. Don’t move on until this is looking good though, as the next steps will magnify the first step, if step 1 is done well, step 2, 3, 4 will make it look more and more amazing. If not done well it will magnify that as well.

The wheels are directional to cut better
Check the rotation direction of your machine and the arrow on the wheel to make sure they are on the right way. A simple tip is to have the zephyr up when you put the wheel on the machine (stamped on most wheels). Also check the end of the wheels on each side line up so that they are balanced. Sometimes in production they can overlap a bit and then they aren't balanced, if they don’t line up just trim one end up a bit with a knife.

Can you see the metal flakes on the polishing wheel
This is why you need to rake often. As you polish you are putting compound onto the wheel, the wheel is then pushing that compound into the metal, creating friction and heat, and removing the top layer of the metal. The metal that is removed ends up back on the wheel (silvery white) along with burnt compound (black). You can see it in this photo. Raking removes this. You want to rake often to remove this, so you don’t push it back into the metal. if you don’t rake it and apply fresh compound the compound will bounce off and you won’t remove as much.

Wipe old compound between steps
Use Pro50 and a soft RockCar Roadie cloth or similar to wipe old compound of the surface and out of the pores between steps. You do not want to cross contaminate compounds between steps. This is quick and easy and will lead to better results and reduce the chances of things going wrong.
_______________________________________________________________

Step 2 Secondary Cutting/Colouring
By Now you might look at it think that looks great, I'm happy with that. And that's cool. Why would you go any further? Well two reasons, first the next 2 steps are really quick, you have done the hard yards now, to go quickly over these next steps won't take much longer. And second the result will be way better.
You can move quicker here, but be even, rpm around 3200 rpm.

Max Red and Joker are good go-to's
The Max Red bar and the Joker is a great combination here. Other bars like the Green are also good, and the White and purple wheel is also good as a softer alternative to the Joker. You can also use a Green Hall wheel as a bit more aggressive. Each polisher has their own preferences and style to try different combinations to find the right option for you, remembering that each metal is also different.

Pro Trick
Most won’t tell you but when you watch a pro polisher in action you notice things that they do a bit different. One is to wipe on Pro40 or Pro 25 before the Colouring and/or final finish step. This combines with the compound on the wheel to add more finer higher shine cut and more consistent results quicker and easier. Some will use Pro40 on the colouring step and Pro25 on the final finish step,
others will use the same on both, or will only use it on one step. It’s a great trick and very quick and easy. Have a go and see what combination works best for you.

Don't ruin your hard work with cheap cloths
You might have some old rags laying around, you saw packs of 100 microfibers cheap at the hardware store... don't do it. There is a reason that good microfiber cloths cost more, importantly they work better and don't scratch. Don't ruin your work and make more work for yourself by trying to save $5 on a microfiber cloth, the good ones work better, don’t scratch and last longer. We have a big range, but you can't go wrong with the RockCar roadie, they come in different colours to tell them apart (you can use any colour, they are the same)
_______________________________________________________________

Last: Final Finish
The last step that amplifies everything else you have done and really gets you to that mirror shine. And its quick and easy. You can skip it, you can do a 2 or 1 step polish and it will look great. But the extra effort for this last step is not much and the difference can be huge. Give it a go and see for yourself.
Much slower speed, 1600-1800 rpm.

Final Finnishing to a Mirror Shine
Spread Pro40 or Pro25, over the metal first, then taking it off with one of our finishing wheels at a low speed, with a little of the red max bar or one of our other finishing bars like the blue moon or in winter black magic. The white wheels are both super soft, made of different materials, different polishers prefer different wheels, both wheels work well. The Blue and wite wheels are stiffer with cut but soft enough to finish.
Metal polishing Videos